Snowfall

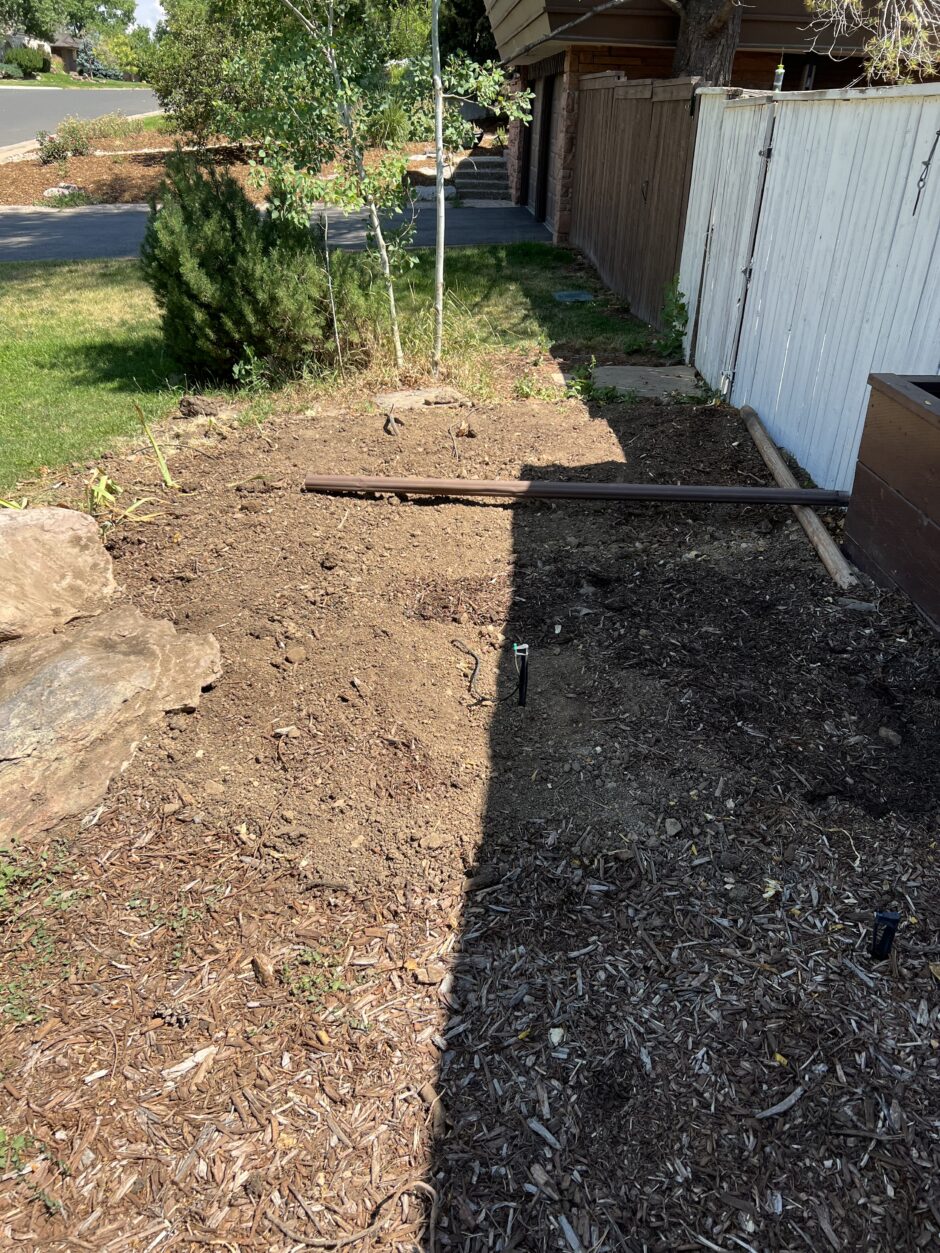
We’ve had a weird first half to the 2024-2025 snow season in Denver. Cumulatively, this season’s 15.7” of snow isn’t far off the recent historical average of 18.6”. Variable differences, right? No biggie. But let’s take a closer look, shall we? Here are the average snowfall amounts, in inches, 1991-2020.

September.8
October3.9
November 7.3
December6.6

And here are the amounts in late 2024.

September0
October0
November14.7
December1

Anything stand out?

Another Day, Another Rush Anecdote

My go-to band, Rush, is never far from my daily existence. Spotify obviously has me pegged as a fan, Peloton rides will surprise me with a song from their catalogue (more of that please!), they pop up in movie soundtracks, and some lyrics have a knack for being spot on during particular situations. Most recently (and probably most often),Tom Sawyer’s line “…changes aren’t permanent, but change is…” captures so many of my experiences, like my new employer where changes have been enacted which are triggering follow on changes, sometimes expected and sometimes not.

The newest appearance of Rush for me was on YouTube. It’s a data visualization of live songs the band played over the course of their decades of touring. It’s limited to the top 20 songs even though their total song count tops 150. Songs written early in their career have more time to be performed, obviously. That keeps their early classics like Working Man high on the list for years on end, even decades on end. Their heyday came around the time of Moving Pictures, but that album was released nearly 20 years after they formed. For songs of that era to ultimately find themselves among the most played is a testament to their deep connection with fans (myself included, hence the lyrics noted above which come from Moving Pictures). Anyway, it was interesting to view the trend although it would have been icing on the cake to pair it with a Rush song. At nearly 11 minutes, they had a decent choice of songs long enough to use. Indeed, 2112 is nearly twice as long as needed.

Bouldering

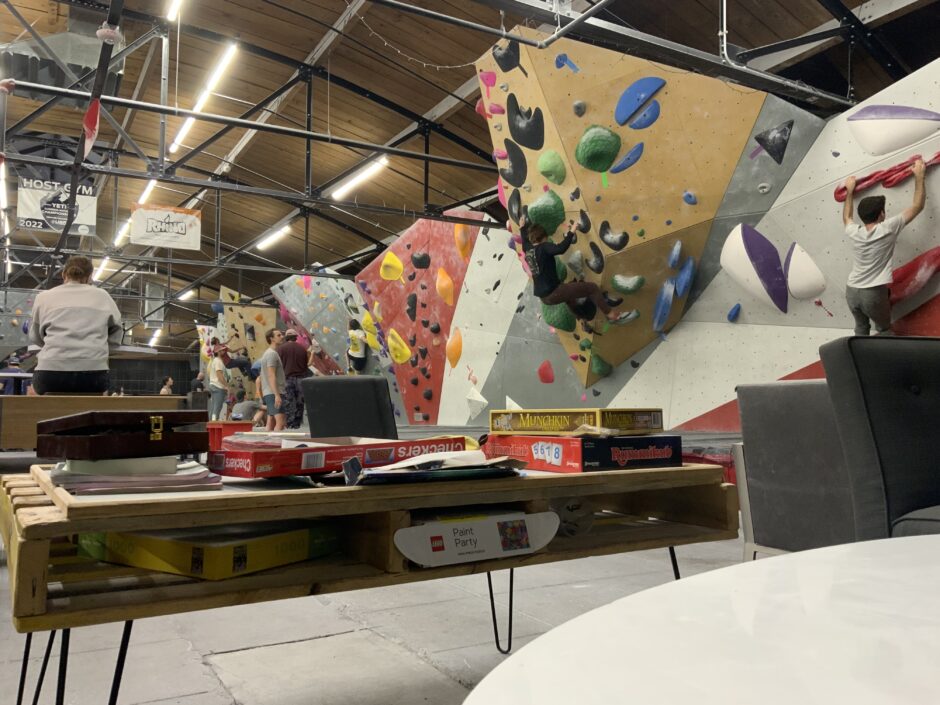
Living in Colorado, climbing is pretty popular—even on a Friday night when I’m writing this. Maybe I should pick it back up, but that’s for another time and another post. Right now, Reese is in her happy place bouldering. And while I hate the drive to get here (there’s another bouldering place way closer), at least the playlist is great.
The Spot

Heavywinter—Young Edition

This site has been around since 2004, though technically I got the domain in 2003. But I consider 2004 the true year I began to blog. I don’t write much anymore, but that’s gonna change (you’re in the presence of the proof yo!).

The Wayback Machine has snapshots of the blog even after I deleted the database back in 2009 or something??? I don’t remember exactly, but at the time I felt I had said everything I felt I needed to say or do online. I wanted a clean break from what came before to what would come next. The next thing didn’t materialize for awhile, from what I remember. I believe I wanted to have a more professional presence or something to that effect. I can see why as I read some of the old stuff. Holy crap. Talk about cringe worthy. Can’t hide from the past when it comes to the web though, even if you deliberately delete shit. Let that be a lesson to all you youngsters out there.

Random Yard Projects

South Side Fence
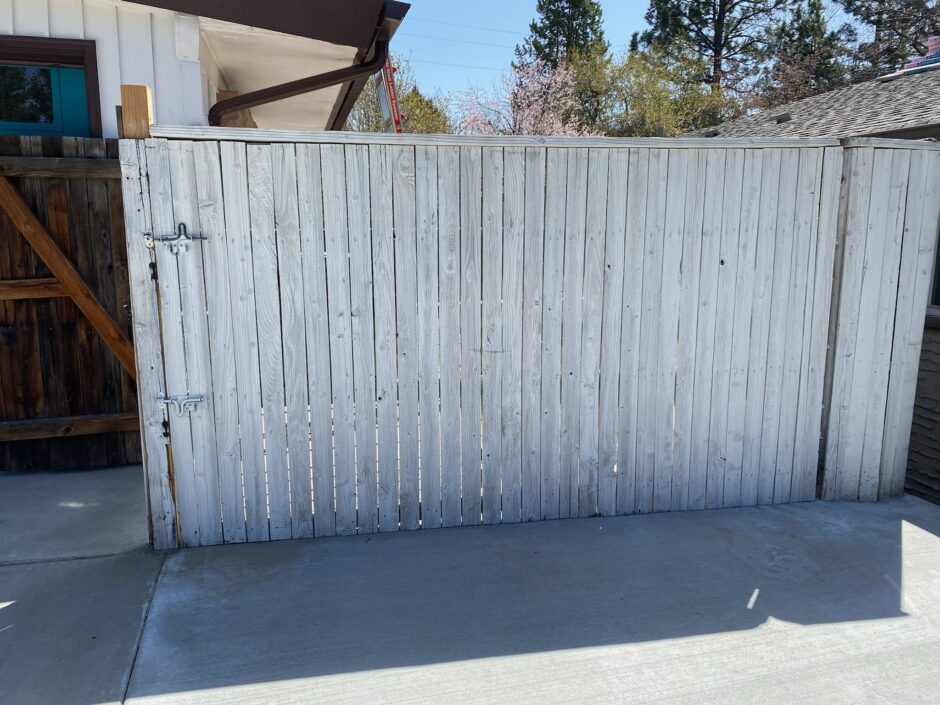
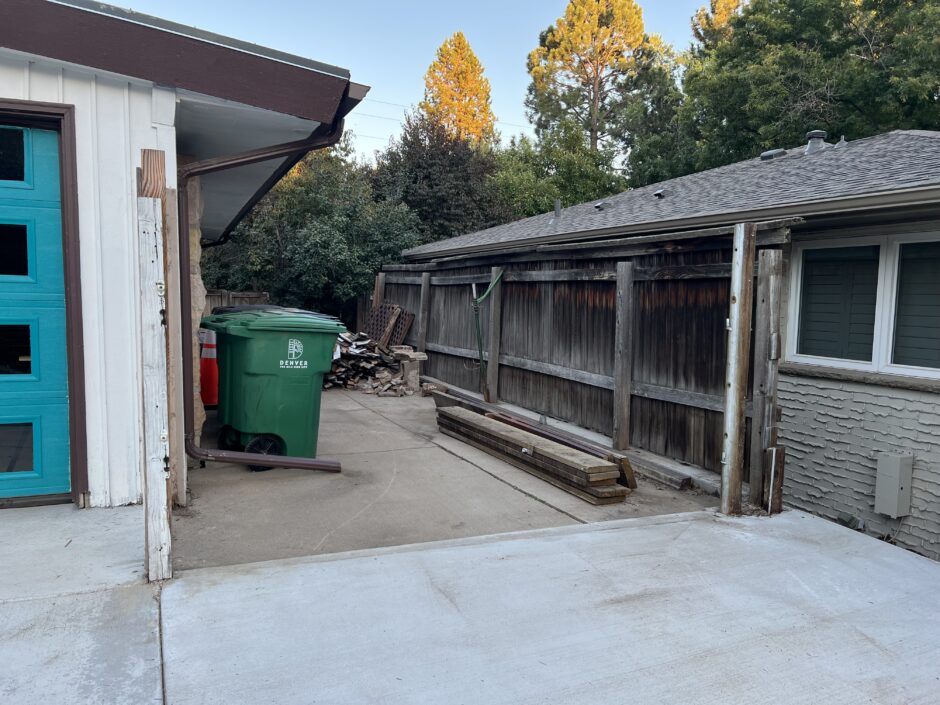
The house came with an old, rickety fence on the south side of the property. Our neighbors suddenly got a lot more light once it came down. Unfortunately for them, we do plan to put a new fence up though not as big. If you can actually make out a little black spot in the concrete above the downspout, good for you! That’s a post support and it marks where the new fence will go. I planned to build the fence myself, but found out with the one post support how incredibly hard it was to drill through 1950’s concrete. They don’t make it like they used to apparently. Getting the other supports in is now a job for pros. And the fence will also likely be hired out next year along with the fence on the north side of the yard. There’s simply too much work for a single person.

One thing I’d like tp point out: the house flipper laid down new concrete over the older asphalt driveway, but didn’t carry it through to this side area (you can tell by the color difference). As a result, the driveway is an inch or two higher. No big deal, right? Well, in one of the photos above, you can see a little line in the concrete next to the lumber laying on the ground. The concrete in this area is sloped toward that line, which is actually a deep cut of several inches. Before the new concrete was laid, I believe that cut continued to the edge of the driveway and provided a way for collected water in this area to drain away. Since the new concrete creates a barrier to the cut, we now end up with pools of water after a rain (or ice in the winter). Not great. I’m not confident I’ll get to this little job, but it is a job that I’ll allow myself to do with a power tool.

South Side Downspouts

How downspouts are NOT supposed to work.

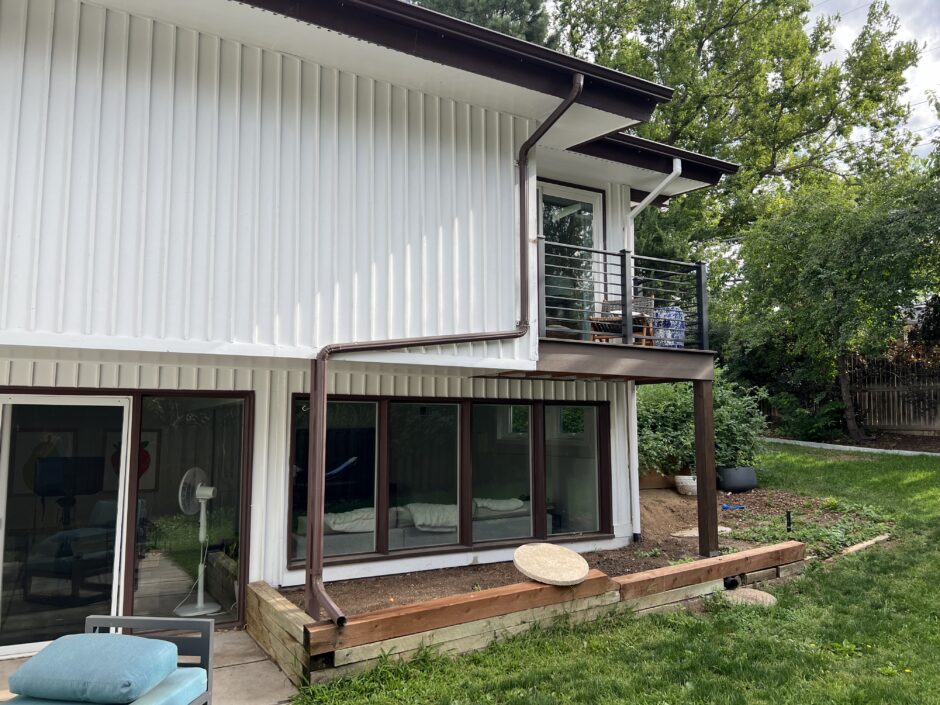
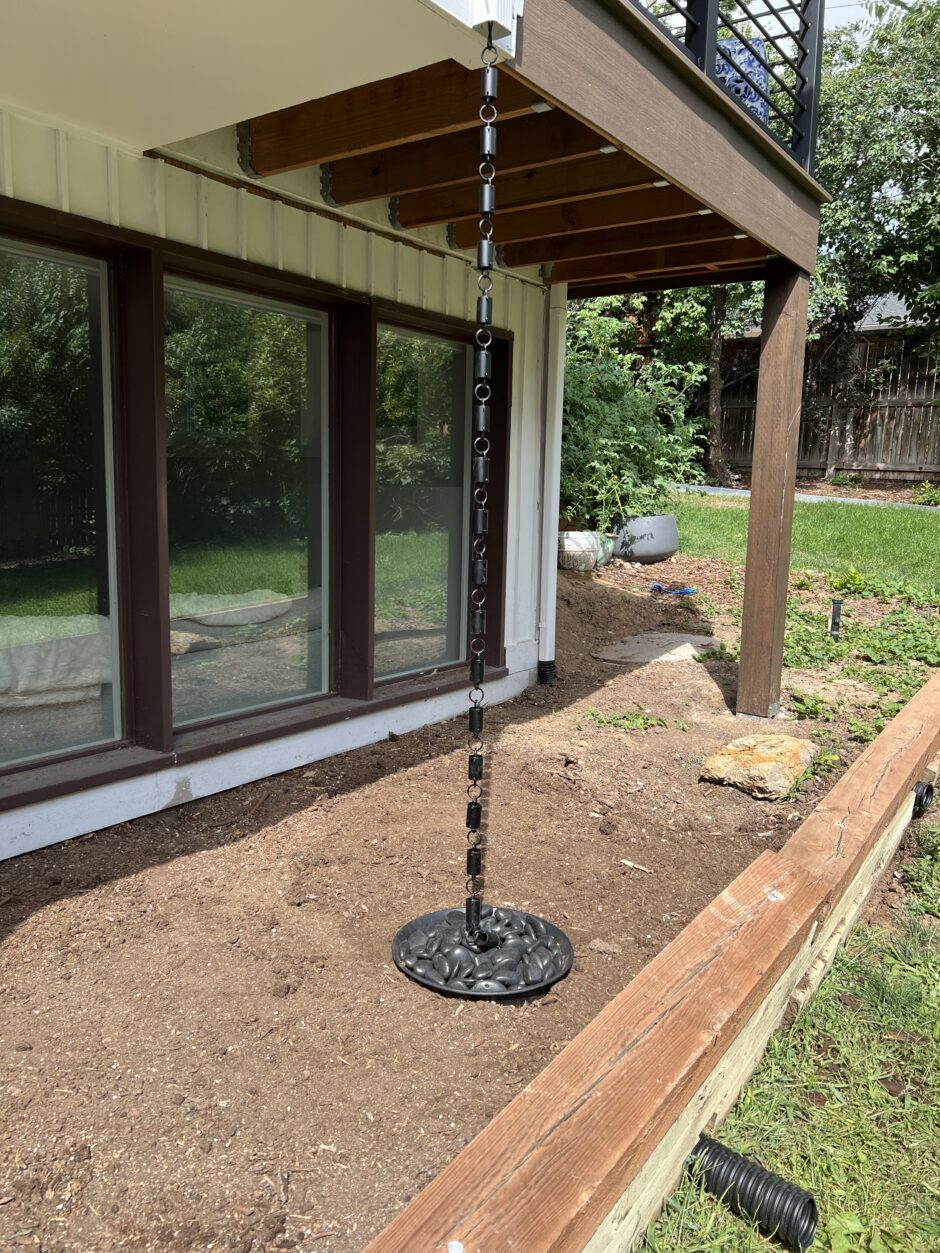
When your downspouts are working this badly, it’s time to get to work. To fix it is to replace it and to replace it is to reroute it. The original downspout’s path took a severe turn in order to be positioned along a structural post. It was clogged to the point where it wasn’t doing its job anymore. I decided to reroute it straight down to avoid turns which are prone to clogs. But that meant it would have to float in space since it was going down a cantilevered wall. Who wants to see an ugly downspout out their window, amiright? The solution was to install a rain chain. We already have one at the front of the house, so this would be an exact match of it (Amazon’s 10 trillion options come in real handy when trying to match something like this). Now, clearly we need to do some planting in this area, not to mention replacing the rotting timber retaining wall. If you’ve read the post about the stone wall I built on the other side of the house, you’ll respect my lack of desire to build another at this point of my life, but I digress. You’ll notice there’s a super short French drain that exists the timber wall. In fact, there are two, one for the other downspout I replaced under the deck and against the house. Both of these will ultimately be extended out into the yard and into a dry well, but again, that work is for another day year.
South Side Patio
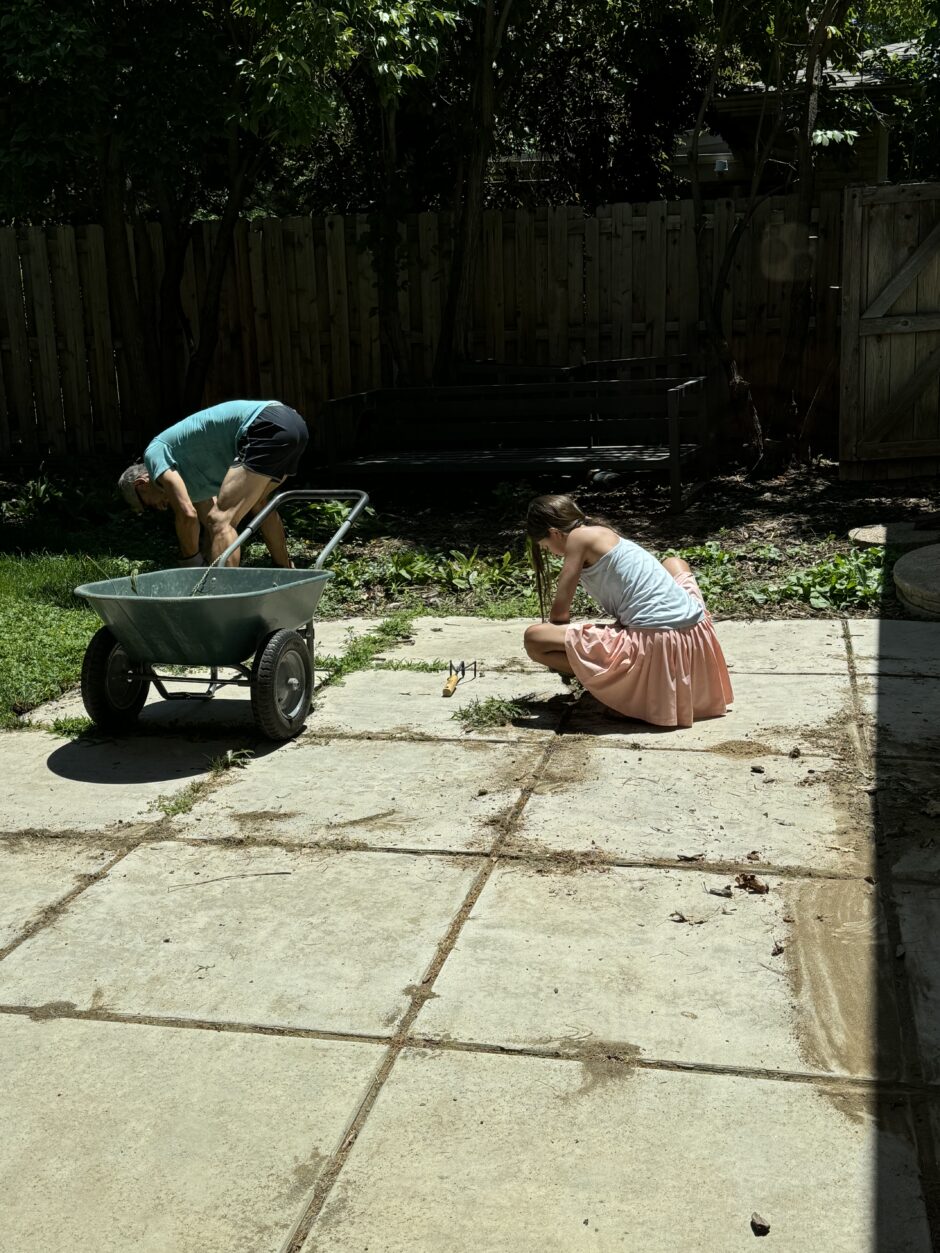
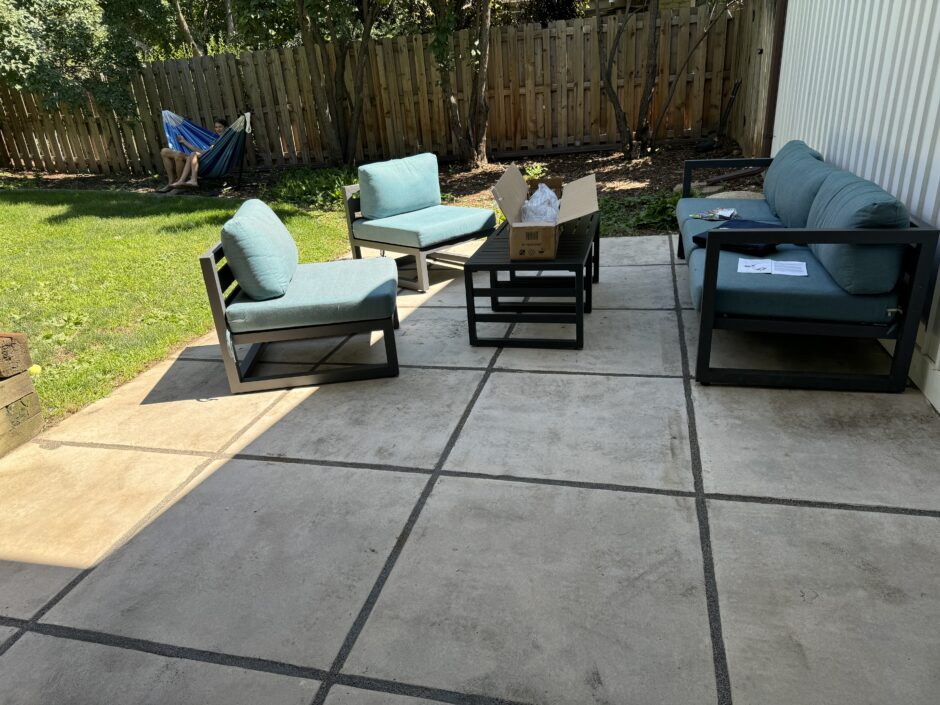
We have big plans for the south side patio. It’s extensive, expensive, and extends into the front area of the house. It’s a project for another year or two as we build up the courage to tackle it. Nonetheless, I did take an interim step which was to fill in the paver gaps with polymeric sand. Suddenly, what was a weed and bug infested area became quite tranquil—a nice spot to sit with a drink in your hand and good company. The bang for our buck here was pretty big and I didn’t destroy my back either. Bonus.

Tree Removal

Breaking down a tree for disposal.

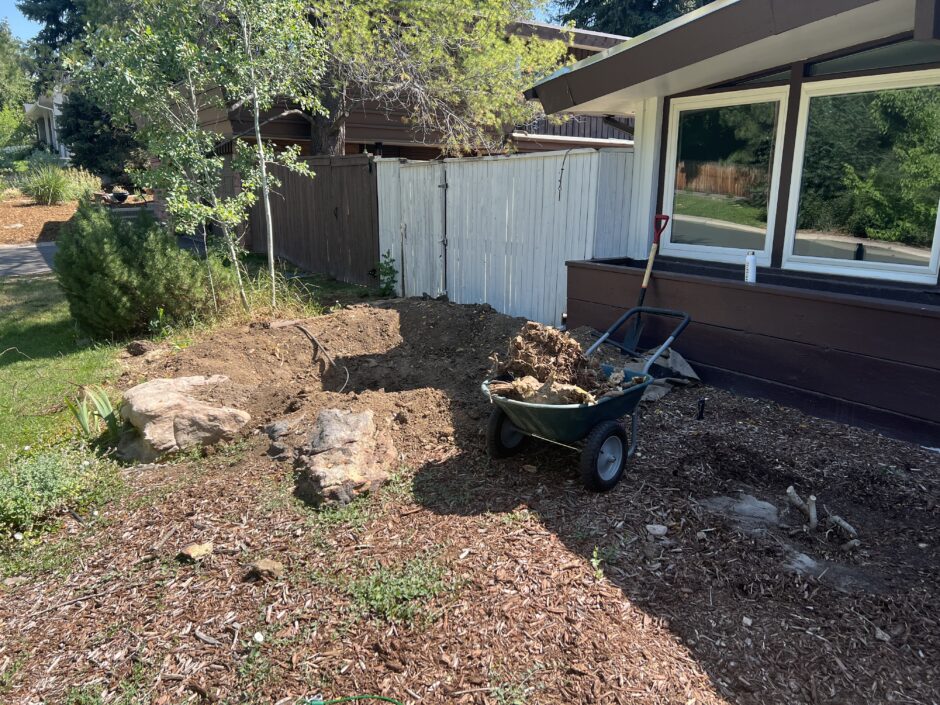
Our yard had too many trees and shrubs. They were competing for sun and physical room resulting in asymmetrical growth and partial death. For weeks, I’d walk the yard, eyeball victims, and then go at them with saw in hand. As a result, we have fewer trees, but the ones that remain have a better chance of success. Unfortunately, the front of the house looks barren at this point having removed the majority of trees and shrubs, but there’s a plan yet to be executed to bring it back to life.

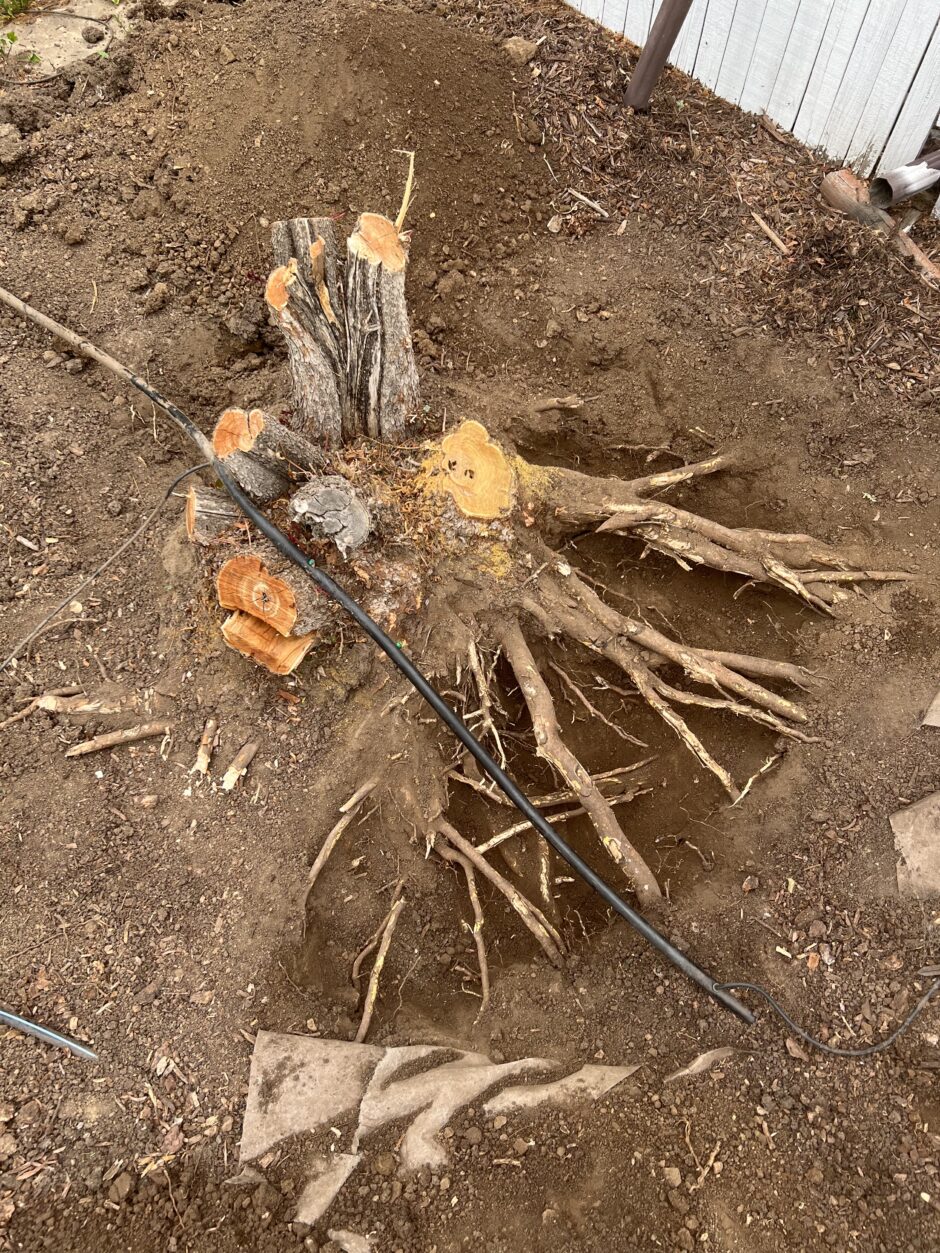
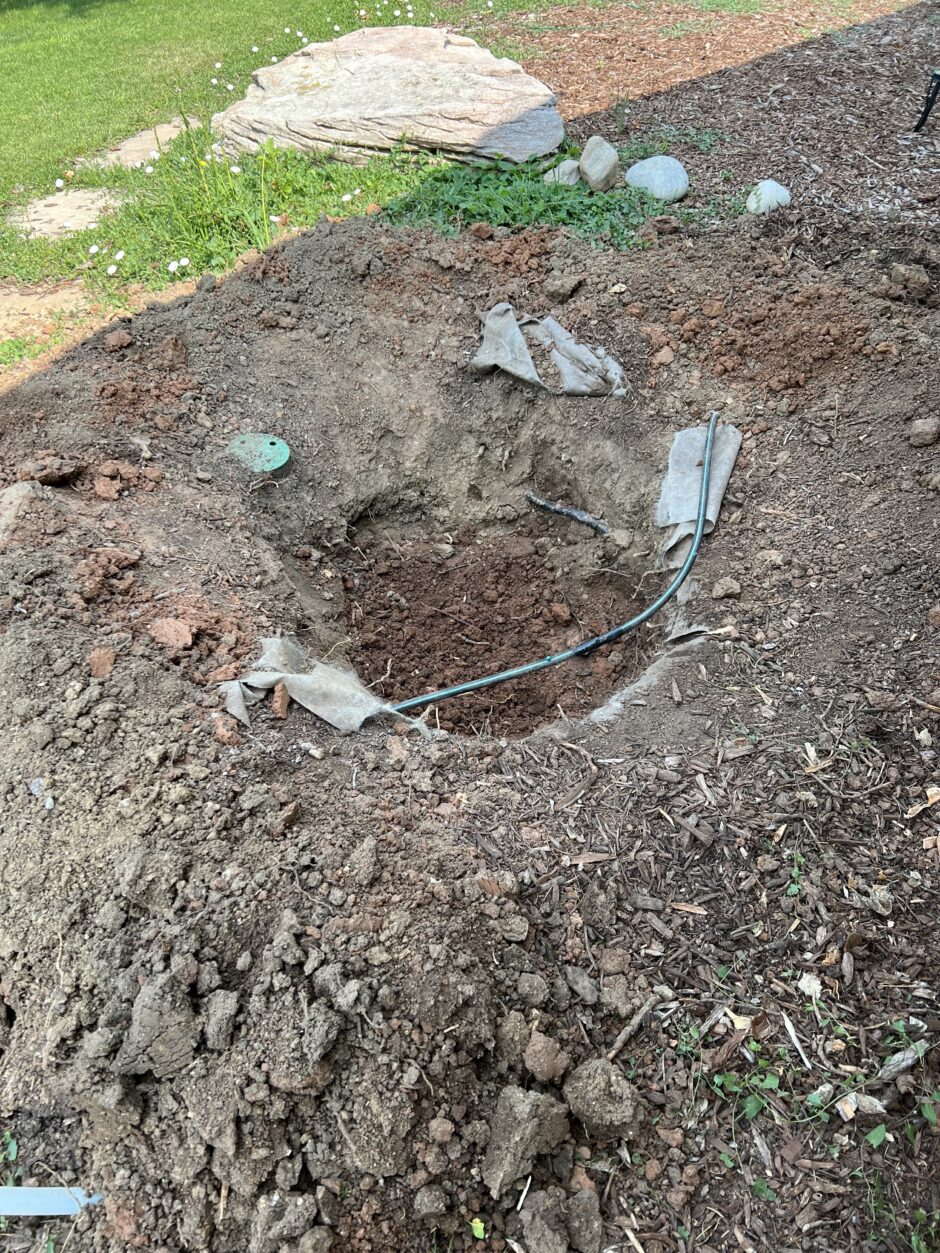
One thing I’ll linger on here are tree stumps. If you haven’t needed to remove one, consider yourself fortunate. They’re a pain in the ass. And, of course, you inevitably damage or cut sprinkler lines which you had no idea were there. This time lapse is one of the smaller (easier) root balls, but it still took hours over the course of a couple days to get out.

The tedious, manual labor of stump removal work.

It’s A Wrap

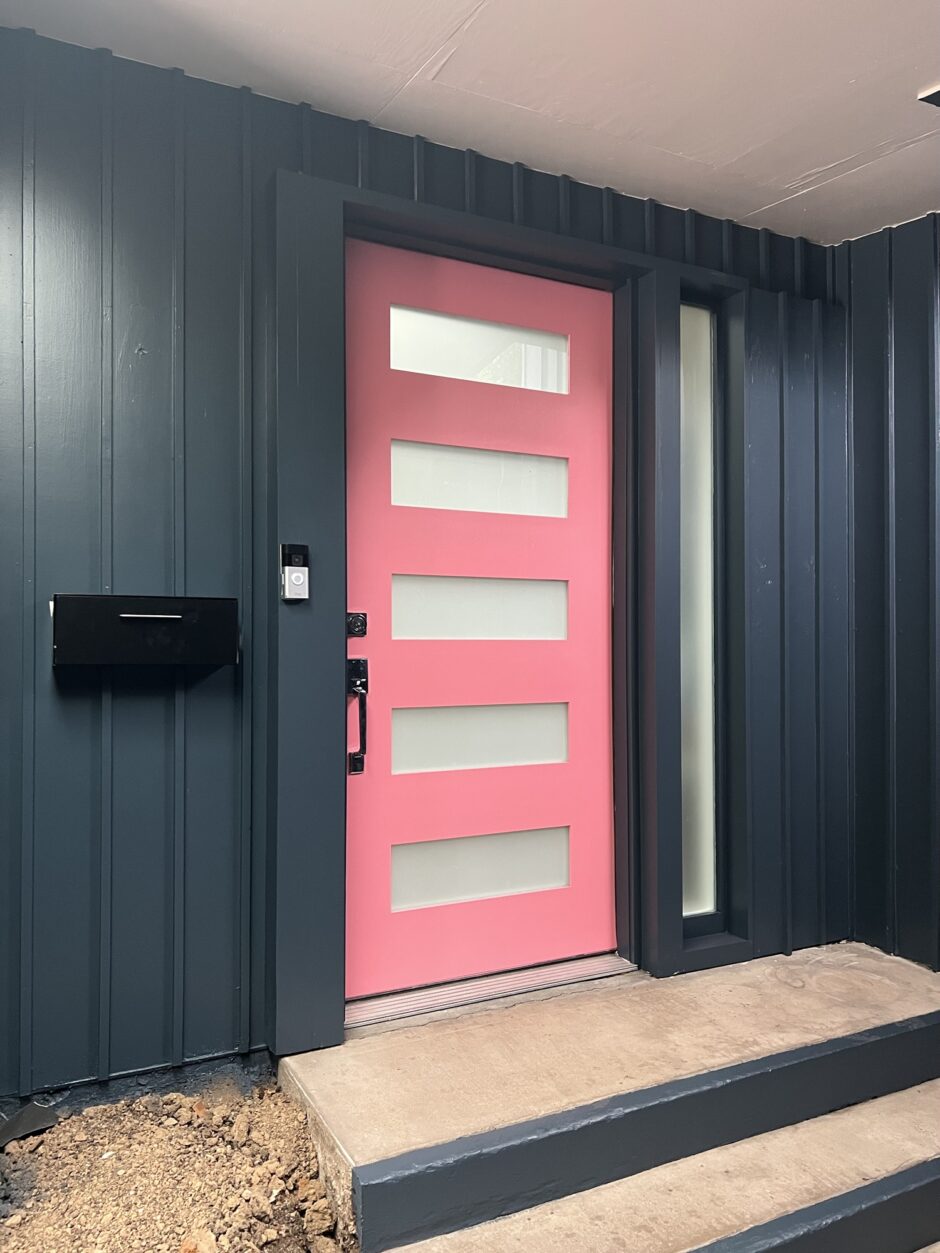
I might as well pat myself on the back here and mention that I also did some DIY stuff inside the house along with the outdoor work. It’s not as sexy so I won’t go into it. And while there are some little things I’ll continue to tidy up outside, the landscape work for this year is coming to a close, much to the chagrin of my wife who wanted me to prioritize the front door area which I kept pushing back. Could I drip that work out in the remaining summer weeks? Possibly, but it’s looking like another winter will come and go before I tackle it.

From here, I’ll devote my time and effort into a job search and/or strike out on my own. It’s been a wonderful (and welcome) half year break, but an official retirement is still a ways off. I’ve enjoyed being a house husband and sometimes wonder how normal, everyday stuff gets done when everyone has a full time job. Who has time for that? But indeed, it’s time to get back into the design world and surround myself with interesting challenges and content. If you’re nearby, come over and we’ll have a coffee or glass of wine while we catch up and I give you a personal tour of all the places in the yard where I injured myself this summer.

North Side Yard

On the north side of our house sits our kitchen with its many windows and skylights as well as two bedrooms and a bath. Just outside is 13-21 feet of yard between us and our neighbors. These photos show what the area looked like when we bought the house. We inherited a patch of grass, a long concrete patio, multiple trees and boulders, and a retaining area along the fence full of flowers and bushes.

Work here was, according to our landscape architect, supposed to be minimal. It included replacing the rotting wood retaining wall, converting some of the concrete areas back to bare ground, and adding plants. (I never did take a photo of the wood retaining wall, but you can see it through the kitchen windows above). I began the work of replacing the retaining wall because I could reuse any lumber still in good shape for the garden boxes to be built on the east side of the house. As I took apart the wall, I peeked over the fence and into the neighbor’s yard. I figured the retaining wall was indeed retaining the ground given that our house sits on a small hill with our neighbors sitting further up the hill from us. And, indeed, the ground did slope, but not along the entire length of our fence. Some 30 feet of fence outside our kitchen sat at the same elevation as out neighbors. That meant the bulk of the “retaining” wall was not retaining anything. Instead, it was effectively a giant planter box. Where our side of the fence might measure 4 feet from the top of the retained area to the top of the fence, our neighbor’s side simply had a normal 6 foot fence. No bueno. That explained why the fence was leaning—the weight of the dirt was pushing it over. This called for a change in landscape plans.

I started by making room. Low hanging branches were in the walking path along with many dead limbs. Those needed to go. I cut down a few smaller trees and lots of dead material. I also had the utility company lop off tree tops that were all up in the business of our electric lines. Some of the trimming was pretty severe and my wife began to tease me that I really wanted to do was go around cutting things down. Personally, I think the aesthetics have improved. Nonetheless, losing trees wasn’t great, but they were too tightly packed anyway, choking each other out of sunlight (Rush’s tune The Trees pretty much sums up this tale).

With more room to work with and better clarity of what was going on, I decided to take out the retained area along the fence altogether in preference for retaining only the area that actually sloped to higher ground. Doing so would provide a focal point for the area and remove the issues with the fence. I’d simply move the dirt in the planter box to fill the newly built retained area. The rotting fence, with no dirt piled against it, could be replaced with a normal, full height version (though a project for another year). It was time to build a new stone retaining wall.

A time lapse of building the stone retaining wall on the north side of the property.

We bought 3 tons of moss rock sourced right here in Colorado (so it wouldn’t look out of place). It’s not easy to work with—it’s more irregular than I bargained for and prone to chip and break where you didn’t want it to. That turned the work into a complicated, heavy, and sometimes frustrating jigsaw puzzle. My back still hurts. And, of course, it ended up taking longer than I anticipated, but that goes without saying.

The time lapse will show a good portion of the build. I didn’t get smart about filming it until I had already started, hence why the wall is already underway at the beginning. You’ll notice my original plan for the wall to take a right angled path fell through after most of it was built. What a waste! In the end, I think this more natural shape ends up working better given the sloped transition from the lower flat ground to the higher ground.

Less noticeable was my serendipitous attempt at steps in that reconfigured portion of the wall. After some time, it became obvious that my dwindling rock supply would not support it and finishing the length of wall needed. I abandoned it along with the hours invested. Live and learn.


There’s still work to do, no doubt. But this damn wall feels like a milestone accomplishment worth writing about. So what else is on the to do list?

  • Take out the remaining grass and two sections of the concrete patio.
  • Plant vegetation
  • Dig a French drain and dry well.
  • Convert the pop up sprinklers into a drip system.
  • Add a second tier retaining wall closer to the fence since the ground slopes up higher there.

Look out for at least one more post with odds and ends I’ve tackled between this work and the work I did on the east side of the house.

East Side Yard

I’ve been on an extended, appreciated break from corporate life. In its place, I’ve invested mind, muscle, and the health of my back into our shambolic yard. Big and small improvements have come and gone and more are planned. My enthusiasm pulled me straight into the work before I realized I ought to document the evolution which I’ll do over the course of a couple posts. Today, I’ll start where our house ends, the backyard. Specifically, the eastern portion of the yard since we typically think of the ‘backyard’ as the horseshoe shaped land wrapping around the house and bounded by a fence. Let’s get to it.

The house long before we knew it existed.

We believe the prior owners lived out the end of their lives here. As one might imagine as the years tick by, yard maintenance becomes less important. We found this photo of the house (taken from the southeast corner) as it existed some year(s?) before we bought it. I’d describe the landscape as overgrown, messy, and untended. The deck was original to the house though I think it was expanded at some point (more on that later). On the far right, you can also make out a fence and stairs. Based on what I found (again, more on this later), I’m confident they had a second deck back there with a hot tub. And you know how it goes—hot tubs = swingers. Way to go old owners!

The house at the time of our purchase. That newly planted grass? Mostly dead or weeds now.

A local real estate agent bought the property, and completed some (low quality—grrr) updates, some of which were intended to spruce up its outdoor appeal. But like most flipped homes, the renovations are meant to have a high return on investment rather than disciplined, thoughtful improvements for the benefit of new owners. Maybe that’s not a fair statement, but we’ve found it to be true with this home. Anyway, we bought the place in 2022 as shown above. Note how the overgrowth was cut back (though not eliminated), new turf was laid, and the grounds generally cleaned up to look nice. Take note of the slope (the pocket of homes we are a part of is called Southern Hills). The main level of the house sits at ground level on the north side while the basement level (left side of the photo) sits at ground level on the south. Walking around the house will raise or lower your elevation by 9-10 feet which is around a 10º slope across the back of the house (more on this later—there’s a lot of foreshadowing in this post, sorry).

Work begins with the removal of the deck.

The first significant work I did was the removal of the deck. I began demo in the fall of 2023, weather and time permitting. As weekends came and went, I cut down sections at a time with a hand saw. Now, before you leave comments, I work on a computer all day. I relished the opportunity to be outside working with real materials and feeling the slow exhaustion of manual labor. Hence, I reached for hand tools rather than power tools most of the time. It’s quieter and peaceful even though productivity takes a hit. At this point in life, that’s a bargain I’ll take, but I digress. The deck was maybe 300 square feet. While that doesn’t sound like much, it sure the fuck is when you go at it with only a hand saw and crowbar. We’re talking about the deck boards, joists, posts, ledger boards, railings, and stairs—it’s a lot.

From fall through winter and into early spring, I chipped away at the behemoth, one saw cut at a time. It became apparent that the deck was not in great shape. Joists were rotting and had been doubled up at some point to strengthen them (which is why I think the deck was expanded from its original shape and size). I also found hot tub equipment and a lot of bug filled debris stored under what were the stairs and north end of the deck. I cleared it out, busted out concrete pads, leveled the area, and generally got it ready for its next use—a garden.

I saved deck boards in case I’d need it for other projects, like the garden boxes I had planned to build. But as it (and lumber from a retaining wall on the north side of the house) piled up, I decided it might be old enough to be pressure treated with the old arsenic based chemicals—not what you want for your garden. With hardly two planks getting a second life elsewhere in the yard, not predicting how or where else to use them, and their unsightly junkyard look, I decided it was time to adios it all. Too cheap to rent a haul away trash bin, I cut the lumber to fit into our household trash. Week after week, a load of lumber was hauled away. Even the concrete pads were tossed out chunk by chunk. Luckily, my friend Matt let me dump a carload or two into a dumpster he owns at his and his wife’s business. Thanks Matt!

During the deck demo, we also replaced some windows and doors. What was a door to the deck on the east face of the house became a door sized window. And for months the replaced sliding door on the south side opened to an 8 foot drop to pain and suffering (everyone survived). Side note: the grey blue color around the A/C is what we plan to paint the exterior of the house. I painted this section because it was going to get tricky to properly paint after the work in this area was totally finished.

The ledger board that ran the full east face needed to be patched. I originally thought I’d replicate the vertical siding effect, but upon reflection, I‘ probably would have needed’d need to pull off a good chunk of siding to properly flash and patch the area. Instead, I followed the advice of our California landlord who visited us and who is a general contractor to patch the exposed area with a new ledger board. Admittedly, this option bothers me as it’s not my best work and not completely in step with the vibe of the house. But I convinced myself it was good enough and hey, it’s the back of the house—who’s going to see it? Damn it, I am.

With the deck gone, it was time to get cracking on the garden. Patting myself on the back for cleverness, I’d reuse many of the deck posts as the corners of the two garden boxes I’d build, one on either side of the A/C unit. I had to drop a couple of additional posts and terrace the site (remember the sloped yard?), but eventually the boxes materialized. I filled their bottom halves with tree trimmings and dirt from another project in the yard (a tale to be told in a separate post). The top halves were filled with fresh soil bought and delivered from a landscape supplier. Wheelbarrow after wheelbarrow, I ferried it from the street where it was dumped to the back of the house, some 100 feet in distance. I ended up needing antibiotic eye drops after getting a fleck of soil stuck in my eye—no fun. And my clever idea to reuse the deck posts resulted in giant garden boxes difficult to reach into the center without physically climbing into them. Buy hey, it’s the back of the house—who’s going to really care? Damn it, I am.

With the garden boxes finished (you can also spot the drip irrigation I installed), I could move onto the monstrosity that is the A/C unit. Here, I decided to build the world’s lowest and most impractical pergola to hide it. It’s weird, but does the job. It consists of two parts. There’s a mini deck under the window. We figured in an emergency, anyone in that room would escape out the window. The deck provides a platform for an exit. The pergola portion is intended to hide the A/C from inside the room while giving ample air flow to the unit’s fan. The whole thing is definitely a case of form follows function. And besides, it’s the back of the house. Who’s ever going to see it? Damn it, I am.

Where things stand in 2024.

We hired out the balcony work. It obviously comes with a safety factor and I didn’t trust myself to do it competently. Since I hadn’t gardened in years, I forgot how big tomato plants get from their humble beginnings. Clearly, I planted too many in the box and it’s now a jungle. Somehow, basil is actually growing deep in the thicket along with some peppers and a couple other things. Whether or not I’ll be able to pick them is another story. Live and learn.

Well, there you have it: a deck swapped out for a garden. There’s still the matter of painting the house, encouraging native grasses and plants to take over the grassy area, building a retaining wall to shore up the steep elevation change at the southeast corner of the house, and doing some grading to go hand-in-hand with the wall. And then there’s the weeding. Oh, the weeding! Nonetheless, this series of projects is done. Stay tuned for the next update—the north portion of the yard!

Design Systems: Rules vs. Norms

Atomic Design “…introduces a methodology for thinking of our UIs as thoughtful hierarchies…” writes Brad Frost.

His system begins with atoms, the smallest documented units — think buttons, typographical styles, and the like. Combining atoms together creates a molecule. Multiple molecules and/or atoms in combination form an organism, and so on up the hierarchy. Any atom will likely have variations within the system. A button may offer a few sizes and color, for example, in order to satisfy a range of situations. This is fine as the limited set of options is manageable and come with rules of use.

The advantages of this system are clear: It improves usability and productivity by regulating use. There’s a problem though. When multiple atoms and molecules (each having a set of variations) are combined into an organism, the number of permutations can explode causing strain on the system’s ability to regulate use. When rules begin to fail us, what can we do? We can turn to principled norms. Let’s consider an example.

Two variations of a single card organism or two independent card organisms?

Here are two card organisms. They’re organisms because they’re made up of atoms and molecules. Both have a header molecule consisting of an icon, header text, and subhead text. They both have content, the one on the left showing a repeating photo/text molecule while the other showing a grid of icon and label molecules. Let’s now pose this question: should these two cards be cataloged as two separate organisms in the design system, or as one with enough variation to produce the two examples shown? I’d say the latter is the best option. Both are the same organism. They only vary in content — in this case, content made of different molecules and atoms.

Now, let’s consider each card’s spacing, with particular attention to the bottom of the cards. Both show a buffer (highlighted in green) between the card’s content and the edge of the card. Note that the amount of buffer differs (and, indeed, the buffer differs both in real and perceptual terms).

Padding differences caused by the interaction between variations in content versus the same containing element. Top image shows actual measurement difference while the bottom shows my subjective, perceptual difference (which you can disagree with. The point is that actual versus perceptual are different).

If we examine the structure of how these cards are built by drawing boundaries around content elements, we see that both card organisms (shown in red) have equal amounts of margin and padding along the bottom of the card. The content elements however, don’t. On the left, we see the screenshot/text molecule has no padding and only a top margin to separate it from the molecule above. On the right, the icon/text molecule is padded all around with no margin. We conclude that the cards are identical and any difference you may perceive in the spacing of elements is caused by the variation in content.

Boundaries show how these cards are built.

This difference is the slippery slope. The card organisms—which are identical—show different visual spacing, an issue a design system is supposed to manage away by automatically introducing consistency as a prime value. The number of ways that atoms, molecules and organisms interact with one another causes an explosion of variation that cannot be fully managed by a simple set of rules.

The Issue in a Nutshell

The dilemma is this — a design system breaks down because the number of variations becomes so large, rules can’t hope to cover every conceivable situation. And you can’t continue to heap on more rules because the system will collapse under its own weight.

The way out is to keep a design system sane by placing more emphasis and effort on the lower level of Frost’s atomic hierarchy. Rules at the higher levels risk paralyzing product teams and bloating design systems to the point of losing their value.

Norms, Not Rules

Again, I don’t want to suggest that design systems are bad — they’re not. I only raise the spectre of too much specificity at higher levels. Instead of rules, I propose norms. Let the collective experience and leadership in the team set what’s acceptable and what’s not. Is that a slippery slope, too? Most definitely, but it acknowledges the fact, rather than masking it. Good designers don’t value from a prescriptive design system at the higher component levels. They need guidance and influence where rules no longer suffice.

One clear tradeoff that shouldn’t go unspoken is that fewer rules lead to more variance, which leads to greater maintenance cost. It won’t be as easy to make one change and have it cascade across the ecosystem. But I’m reminded of Tesler’s Law:

“Every application must have an inherent amount of irreducible complexity. The only question is who will have to deal with it.”

The ‘who’ in this quote is either the business or the user. I’d argue the correct answer in this case is the business — and more specifically, the design system curators (sorry to add work to your plates!).

With design systems being all the rage these days, I feel a word of caution is in order: let’s not slip into a world where we optimize for the design system and, by extension, the business, rather than app designers and, by extension, the business’ users. The way out is to keep a design system sane by placing more emphasis and effort on the lower level of Frost’s atomic hierarchy. Rules at the higher levels risk paralyzing product teams and limiting a design system’s value and promise.


Masthead image courtesy Kai Stachowiak